
Build the scale 1:1 mock-up
A friend of mine had a big size filament 3D printer, which did not worked well.
He asked me to fix it, so I had the opportunity to use it for my stuff.

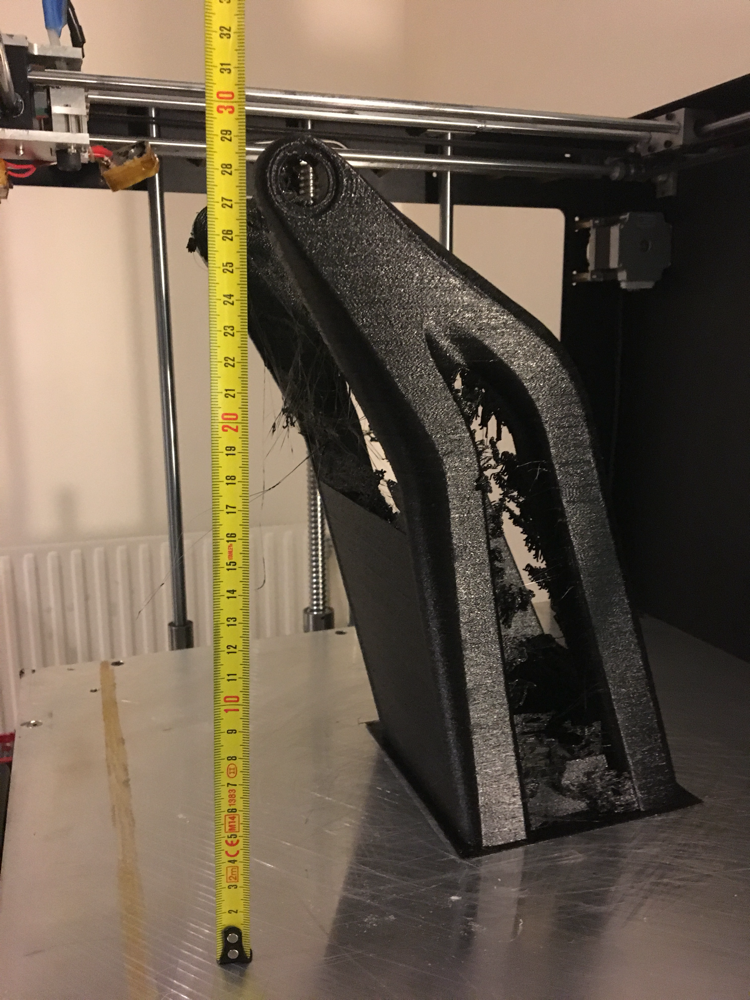
Once I got it fixed, I cut the CAD in multiple pieces, and started the prints for the front triangle. Then every parts were bonded together with epoxy.


I did the exact same thing for he swingarm, in only two big pieces


I machined the pivots inserts on a lathe, and then checked the assembly of these pivots, the rear axle and derailleur hanger, and the BB insert.
To simulate the shock I just used two pieces of plastic tube sliding one in the other set to the correct shock stroke.
I put all these components together and was then ready to check the final result.


January 2017, I was ready to build the bike with all the components.
This step allow to check clearance between the components, which is more than necessary

At this step of the project, I could not stop.
I had some idea to make the bike real, but I am not a composites expert, and I needed to decide the tooling process.
Click here to see how I did it